

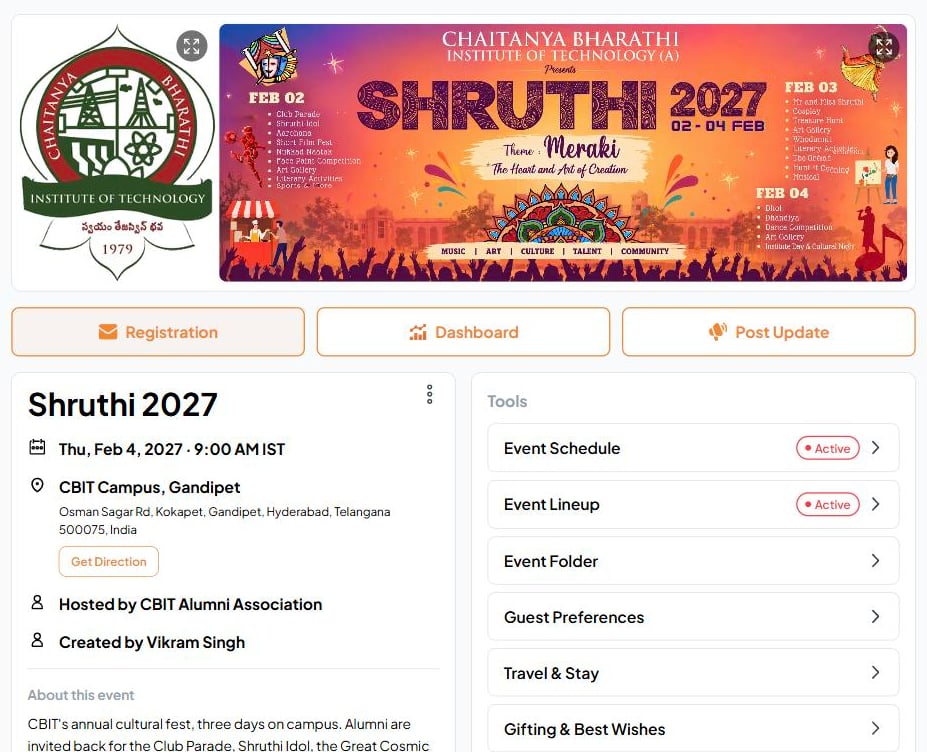
Approval or direct registration
When you set up registration, you choose how it works:Approval required
People request a spot and answer your question, and you approve or reject each one. If the event is paid, attendees pay once you’ve approved them. Best when you want to vet who comes.
Direct registration
People register straight away, with no approval step. Best when anyone with the link is welcome.
Setting it up
1
Create the event
Click Create Event, choose Registration Event, and add the name, dates and venue, just as you would for any event. Add a banner and event template: they’re the first thing people see on your registration page. Multi-day events can have a template for each day.
2
Set up registration
Open Registration and click the pencil on Settings. Choose approval or direct registration, the question for registrants, when registration closes, any age restriction, and whether the event is free or paid. Your event can’t be shared until this is done.
3
Add tiers
Create one or more tiers, such as a 3-day pass, a day pass and a family pass, each with its own capacity and badge color, and a price if the event is paid. Paid events use your own Razorpay (India) or Stripe (US) account. Fast Party never holds the money.
4
Share the link
Click Share Invite and share the registration link on WhatsApp, email, your website or social media. You can also Add Attendees yourself.
Managing registrations
The Registration page counts everyone who’s registered, waiting for review, approved and rejected, and shows how much capacity is used.- Approve or Reject requests one at a time, or Approve All at once
- Pause Registration to stop new sign-ups for a while, and resume when you’re ready
- See where each attendee came from: your link, or your own invitation
On the day: QR check-in
Every confirmed attendee gets a ticket with a QR code. At the door, you or your team scan it to check them in. If someone can’t find theirs, check them in by hand from the attendee list. This is different from Check-In at an RSVP Event, where guests check themselves in.The same event tools
Registration Events use the same event tools as any other event. Switch on what you need:Event Schedule
Event Lineup
Guest Preferences
Travel & Stay
Event Folder
Feedback Corner
Go deeper
Registration Setup and Management
Settings, tiers, approvals and the attendee list.
Attendee Check-In
Scanning QR codes at the door, and checking people in by hand.